Follow Best Plant Sampling Practices for Accurate Analysis
Understanding plant health and nutrient deficiencies begins establishing a baseline for fertility programs. The WinField® United NutriSolutions® 360 system is a season-long fertility management program, including soil and tissue sampling, lab analysis, and product recommendations. Review these guidelines and contact your local WinField® United agronomist for sampling recommendations.
- Perform timely sampling. Crops use nutrients differently at various growth stages, so not all crop samples should be taken at the same time. Sampling before crops need key nutrients allows time to adjust fertility plans in-season. Work with a trusted agronomy advisor to determine appropriate timing to acquire the most accurate data.
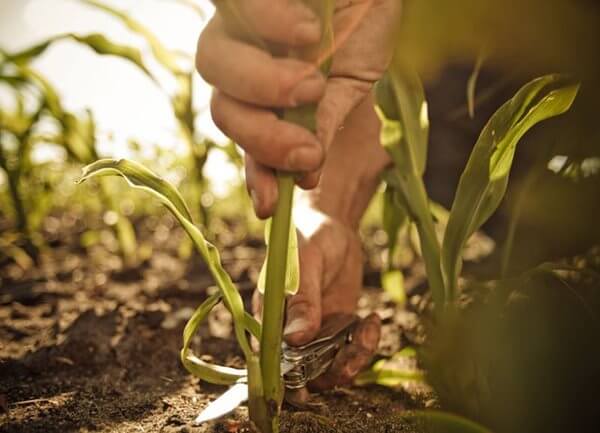
- Be selective in tissue choice. Choosing healthy plant material for sampling is imperative for accurate analysis. Plants under stress from drought, flooding, insect or disease pressure will likely show different nutrient readings than healthy areas of a field. For comparison purposes, stressed areas of a field may be sampled to measure differences in nutrient utilization. The NutriSolutions® 360 tissue testing handbook provides crop-specific tissue sampling timing and protocols.
- Collect enough plant tissue. Follow lab directions to ensure the proper amount of leaf tissue is collected for testing. The volume of tissue needed may depend on crop and growth stage. For example, a corn plant sample should be about the size of a softball when bunched up to account for drying that takes place before lab analysis.
- Select random plants. Take a big-picture look at the field you plan to sample to get the best results. The goal is to take enough samples randomly throughout the field to get an accurate snapshot of overall plant health. If the field is stressed, more samples should be taken to account for field variability. Avoid sampling plants that have necrotic tissue due to early senescence or disease. Imagery from the R7® Tool can also help identify areas of the field where tissue testing should be completed.
- Avoid contamination. Lab equipment is sensitive and will report false results if tissue is contaminated. Avoid submitting samples that may be contaminated by fertilizer residue or soil. If using tools to collect samples, clean them between plants to avoid transferring tissue from one sample to another.
- Plan ahead. Sampling at the beginning of the week will allow plenty of time for shipping to the lab. Pack and ship samples according to lab directions; extreme temperatures can negatively affect tissue quality. NutriSolutions 360® sampling requires specific tissue bags to prevent mold formation. Take inventory of your shipping supplies and invest in high-quality materials to ensure your samples arrive at the lab in good condition.